1. Gather all necessary supplies. Our dollar tree carries shrink wrap so I always buy a few of them to have in stock at home. You never know when you will need them. I also bought little gifts to go inside the gift basket. It included educational toys for little Jordan to play and of course cute shoes.


2. Other supplies include purchasing a basket but everyone knows how frugal I am so of course I made my own basket. See the loft shoe box and my beloved blue contact paper from the above picture? Yep.. I turned it into a custom box. :) I really tried my best to line the design up. You can barely see the paper overlap.


3. Of course you can't have a baby gift basket without diapers. I have a small package of baby diapers from previous projects so I stuffed some on the bottom of the basket. You can use old newspaper or magazine paper instead if you don't have diapers.


5. Once you have figured out the arrangement of the basket, ake out the shrink wrap and place the whole basket inside the shrink wrap. I also tied the top using the provided bow kit from the shrink wrap.

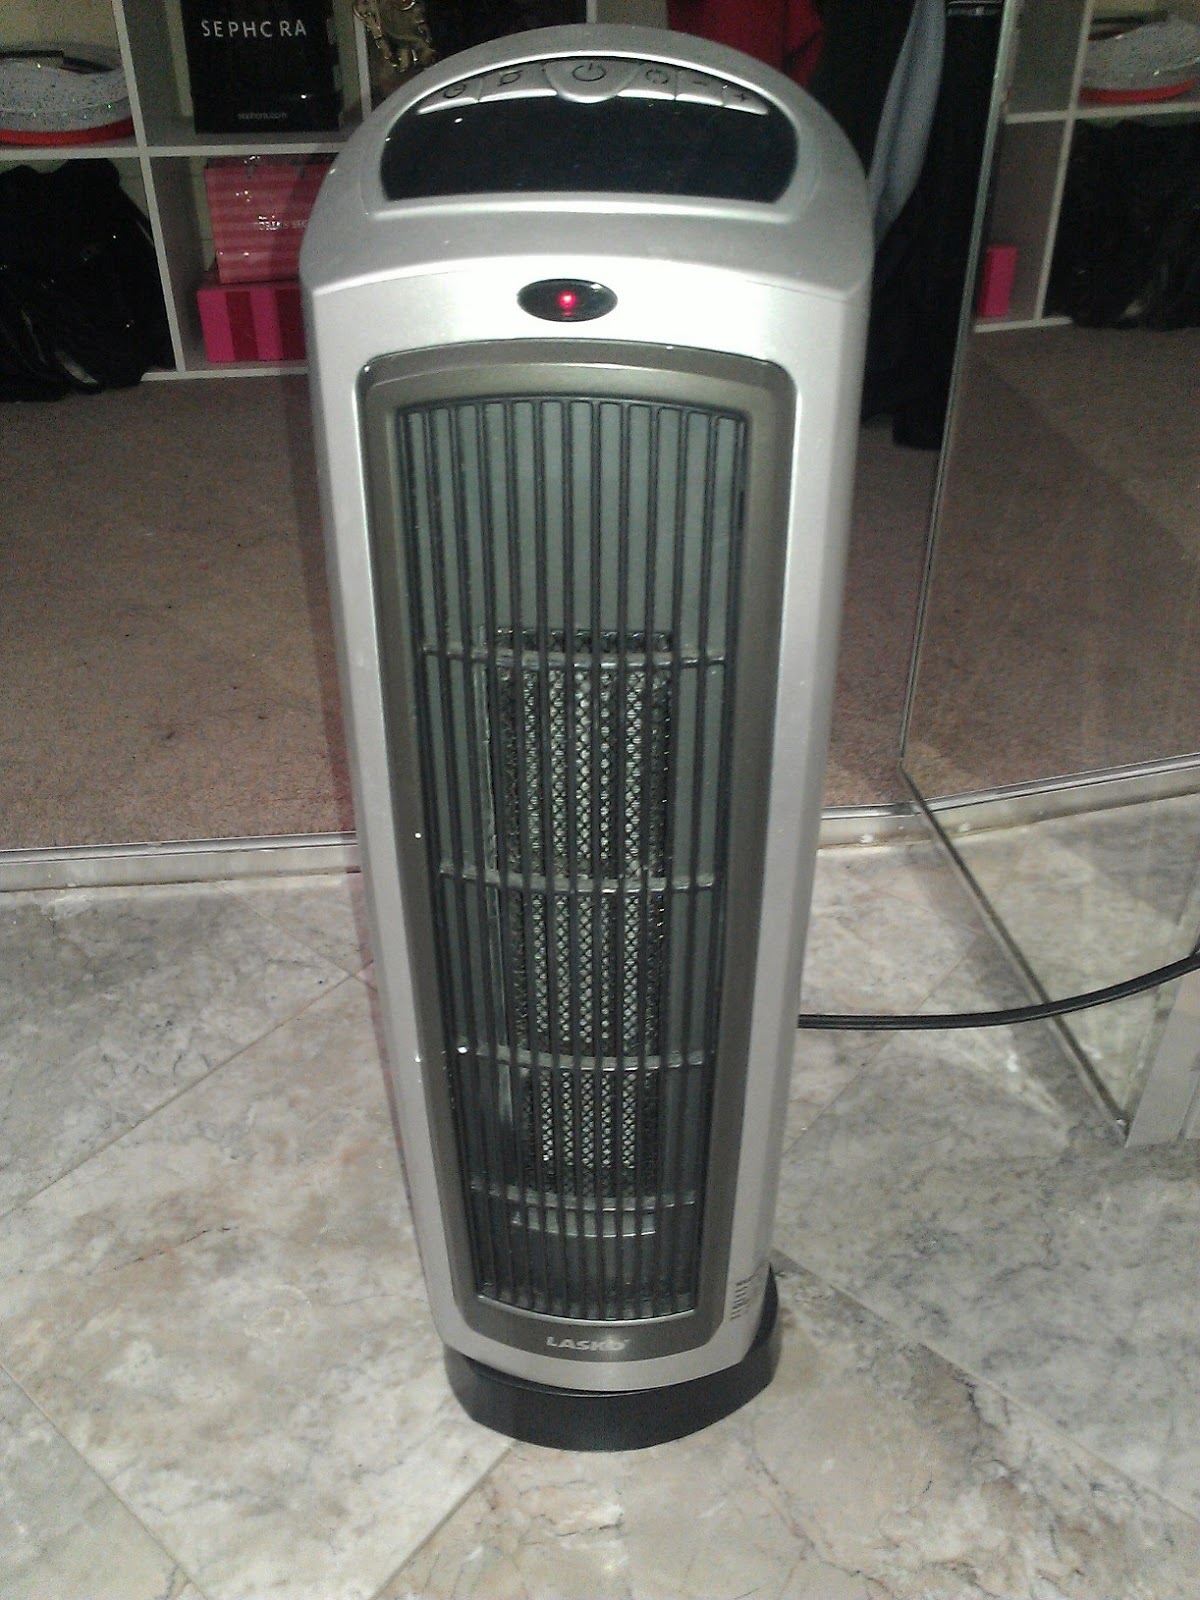
6. See how the shrink wrap is so loose around the gift basket? Instructions said to use a blow dryer but I don't have a blowdryer so I used a portable heater.
A few seconds later, the shrink wrap looked like this. Its nice and snug to the gift so nothing can move around. Its much easier to transport and carry.

7. Last step was to trim the top of the shrink wrap. Its really hard to take pictures of shrink wrap due to the glare.


No comments:
Post a Comment