Supplies:
*two white old pillows that we already had and were using in our master bedroom.
*1 yard of colored fabric, I used gray. If you are lazy you can just buy a roll of ribbon at the 99c store
or Dollartree. For my standard king size pillow I used 3 yards of fabric/ribbon per a pillow cover. $3
*Thread the color of your ribbon/fabric. $0.79c
I went to Mylee fabric store in pomona on Holt to save money on fabric.
Instructions
I first started off with our regular white pillow covers. I didn't like them because the pillow cover was getting loose over time from being used. Plus I hated the open end pillow cover. It looks like this:
I first cut them smaller and split the back in half and overlapped them by 3 inches. So the back piece I left as original length of pillow cover and cut in half and the front piece I cut off 3 inches so when I overlapped the back pieces they are the same size.
But before I started sewing them together I did the greek key design first. I used this template for the design. I didn't use the exact same measurements because my pillow cover was a little longer. I used the 4" and 6" for the corners and just filled in the rest.
Here's my pillow cover with the initial design marked using regular black pen.
Then using an iron and some fabric I made my own ribbon. I didn't stitch anything. I simply just ironed a ribbon and started stitching the ribbon onto the pillow over.
To do the the corners I followed this blogger. She did all kinds of fancy stuff like taping the ends, using no sew iron on hemming tape. I didn't do that. I just traced my design on and started sewing the ends.
I have to admit my first pillow took what seems like FOREVER to finish. Forever to me is like 40 minutes. It was just so time consuming for me and time is what I don't have with two kids. As I was about to scrap the whole project I thought it through and decided I should finish off what I started since I will have one mismatched pillow cover.
Fortunately, second and third pillows were much easier. Total time spent for second pillow was about 15 minutes. Here's how they look after I finished them. My sheets are wrinkly because we actually sleep in them. I haven't found a solution to keep my bed sheets super crisp and wrinkle free.
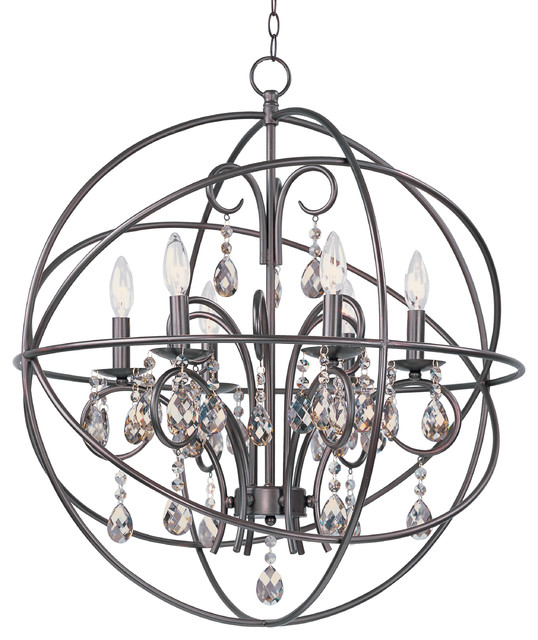
Here's a sneak peek of my in progress project. I've been trying to finish up the orb chandelier in my room but haven't had the chance. One day I'll blog about it.
I'm trying to do something similar to this using hoola hoops from Dollartree and a very small budget.
Our bedsheets were so plain before. They were just all white. I also only use five pillows for our bed because thats what we use. Our guest bedroom has more pillows because its more for decorations.
I also made some more pillow covers for binh's office using some fabric I found at Mylee.
Overall I would only do this project if you plan to make at least two pillow covers. The first one will be trial and error and take a lot of time trying to figure out how to do things. However, as mentioned earlier, second and third ones will be much faster.


No comments:
Post a Comment